Superfast Fingers Introduction
The way the music sounds is what it is all about in piano playing. How do you achieve superfast fingers and full control of sound colors, rhythm, phrasing, and note precision? The strategy is what we call piano technique.
In this article, we explore how the fingers truly work and how to efficiently develop superfast fingers. We must speak on pianistic arm movements since the fingers can't be disconnected from the use of the arms.
The complexities of pianistic arm movements are covered in their own articles — see The Vertical Arm Movement in Piano Technique and Arm Weight and Finger Coordination in Piano Tone Production.
What means Great Finger Technique?
"He plays so fast and strong! What a piano technique!!" is what we often hear when someone wishes to express admiration for a pianist's virtuosity. Having great fingers surely facilitates fast and robust playing. Still, it isn't always true that anyone who can play fast and loud has a great piano technique.
Excellent fingers at the piano means fingers that are independent, strong and flexible, fast, well-articulated, and at the same time very sensitive in touch. Independent fast fingers bring about excellent articulation and well-controlled polyphonic playing. Strength and flexibility are crucial in playing difficult passages and double notes.
Also, it is essential to sustain the arm's weight, required for a beautiful sonority in both Piano and Forte playing. Finally, sensitivity is necessary for feeling the notes and playing accurately, not just the right notes, but with the desired colors.
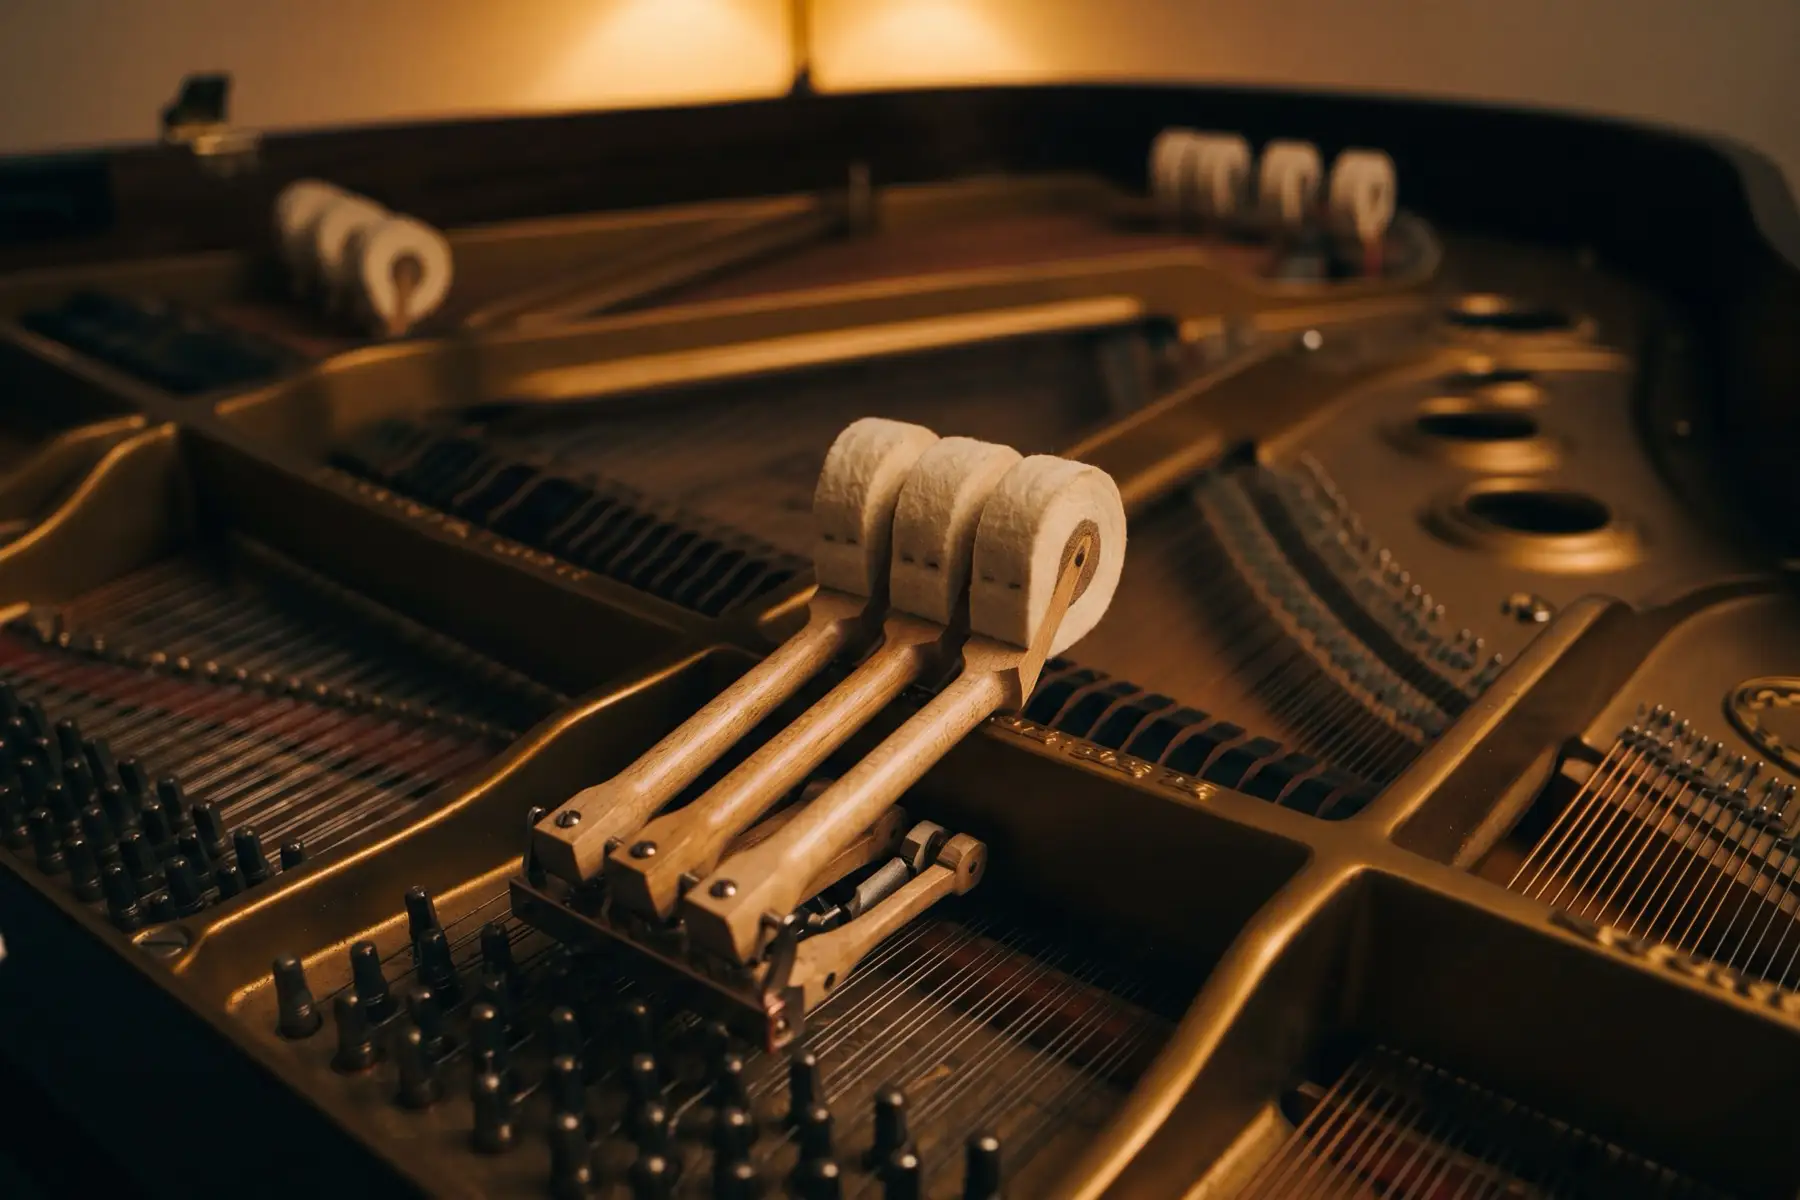
Anatomy of the Hands and Arms
Each Finger has Unique Characteristics
Obvious, but not to take for granted, each hand has five fingers wherein both hands are mirrored towards each other. The thumbs in the center and the little fingers on the outside. Why is this significant?
In piano playing, often, the little finger needs to play stronger than the other fingers. In the right hand, mainly when chords are involved, the melodic line lies in the upper voice and is often played with the little finger.
In the left hand, the bass notes often need some extra power to make the important baseline speak. On the other hand, the thumbs play the central notes and often need to play softer. However, in polyphony, the thumbs can be used to our advantage, bringing out inner notes.
The thumb is the only finger that can pass underneath the hand, giving the illusion that the hand extends to more than five fingers.
We can see the thumbs as the center of the hands, bringing the other four fingers of each hand from one side of the thumb to the other side. Therefore, we need to give the thumbs extra attention to make it more flexible, agile, and faster in a horizontal and vertical motion.
Another finger we need to understand is the fourth finger (ring finger). This finger is the weakest and least mobile since it is locked in between the third and fifth fingers inside the hand. Thus, the fourth finger is more difficult to lift up than any of the other fingers. Therefore, give special attention to making this finger more movable, flexible, stronger, and faster.
The second (index) and third (middle) fingers are by nature the most agile. Still, they need to be developed for playing as fast, agile, and sensitive as we need in piano playing. Compared to the other three, these two fingers will give most piano learners the least trouble. But don't be one of those players that play the piano as if typing an old typewriter!
Palm of the hands
Inside the palms of the hands are the intrinsic muscles that help the fingers be accurately positioned. And we find there the muscles that make it possible that the thumb and little finger can touch and press against each other.
The thumb is the only finger that can touch every other fingertip.
These muscles start in the wrists and make the wrists can move sideways.
Hand muscles
The true power of the hands and fingers comes from the muscles located in the forearms.
Wrist and forearm
The wrist includes seven bones that connect the small muscles inside the hands. Over the wrists lie the tendons, attaching the muscles in the forearm to the fingers. The muscles in the forearm are powerful and make the fingers stretch and bend, and make the wrists move up or down.
Concentrated fingers, meaning fingers that can resist the pressure of the piano keys, are an object that you are holding are controlled by these muscles. Also, finger independence and speed require developing these muscles, so one can feel and control each one of these muscles individually.
In fact, when actively training the finger muscles, the forearm muscles are targeted for development. The exception is the thumb muscles that are located partly in the hands. Those we give special attention to in exercises.
The other tiny muscles in the hands are developed indirectly when playing the piano, since they are mainly responsible for finger accuracy. When we work on playing the accurate distances between the notes, we also train the accuracy of these muscles and both strength and speed.
Be aware that the feel of sound comes from the forearm.
Well-trained pianists feel the weight of the piano keys in the finger muscles in the forearm.
When playing, I feel and control the whole mechanics of the piano keys until the hammer hits the string from within these forearm muscles. Therefore, we can't completely separate the fingers from the arm.
Forearm flexor muscles
Upper arm and shoulder
The upper arm, elbows, and shoulders should be more or less relaxed and for the pianist's experience, move along freely and only passively. Although anatomically, it may not be entirely accurate, we play the piano mainly from the forearms, giving the fingers power.
The upper arm helps mainly in the sideways movements of the arms so as to reach the more right or left part of the keyboard. And even there, it is more a movement that starts in and is guided by the forearms, in which the upper arm passively helps the movement happen.
The shoulders are relaxed to avoid tension between the neck and the arms. The shoulders are a gateway for the nerves from the brain toward the arms and eventually fingers. Tensed shoulders result in blocking that way.
A rigid upper arm makes it impossible to perfectly control the forearm. Without excellent control of the forearms, one becomes clumsy and rigid in the hands or puts too much strain on the hands by failing to employ the forearm muscles and locking the playing too much in the fingers alone.
Brachial plexus
The same Anatomy asks for the same System
All the great piano schools talk about lifting the fingers to prepare every next note, which I call the umbrella effect. Actually, I got that from Avi Schönfeld, who taught me to open my hand like an umbrella. This results in better articulation of the notes, so we can hear each note with great clarity in any tempo.
Both the French and Russian pianists excel in finger technique. The French school typifies superfast fingers with a clear and crisp sound. Sometimes missing a bit of roundness in sonority. The Russian piano school favors a deep and expressive sonority over crispness.
Not every French pianist can be put in the same box, nor every Russian pianist. Take Alfred Cortot, a French pianist with a beautiful depth in his sound. Yvonne Lefébure studied with Cortot, and she was one of Schönfeld's teachers who taught me. Vladimir Horowitz could overpower any orchestra with his big sound and outplay any French or whatever pianist with his sparkling, superfast fingers.
The pianist Sviatoslav Richter was a true Russian in playing Russian music. Yet, he played the impressionists with more colors and mysticism than so many French pianists do. He was a great interpreter of the music of Alexander Scriabin, where all extremes are needed.
The really great pianists can't be categorized. But they all have one thing in common. They all know how to use their fingers and arms well. So it may appear there are differences, yet the system is essentially the same. That is logical since our anatomy is, in essence, the same.
3 Steps to Superfast Fingers
Divide working on piano finger technique into three phases or steps. My teacher Avi Schönfeld taught me to work in three phases. In every stage we work in a specific way on a certain passage or exercise.
Like building a house it is wise to build the fundament before the roof. Likewise in building finger technique it is wise to follow the steps in te right order.
The umbrella effect
So let's talk about the umbrella effect and how to practice it. How can it improve your playing and help you "free" your fingers?
The technique of opening the hand and lifting, i.e., preparing the fingers, is to develop more strength, flexibility, speed, and independence in the fingers. This will result in excellent control of both sound and articulation of each note.
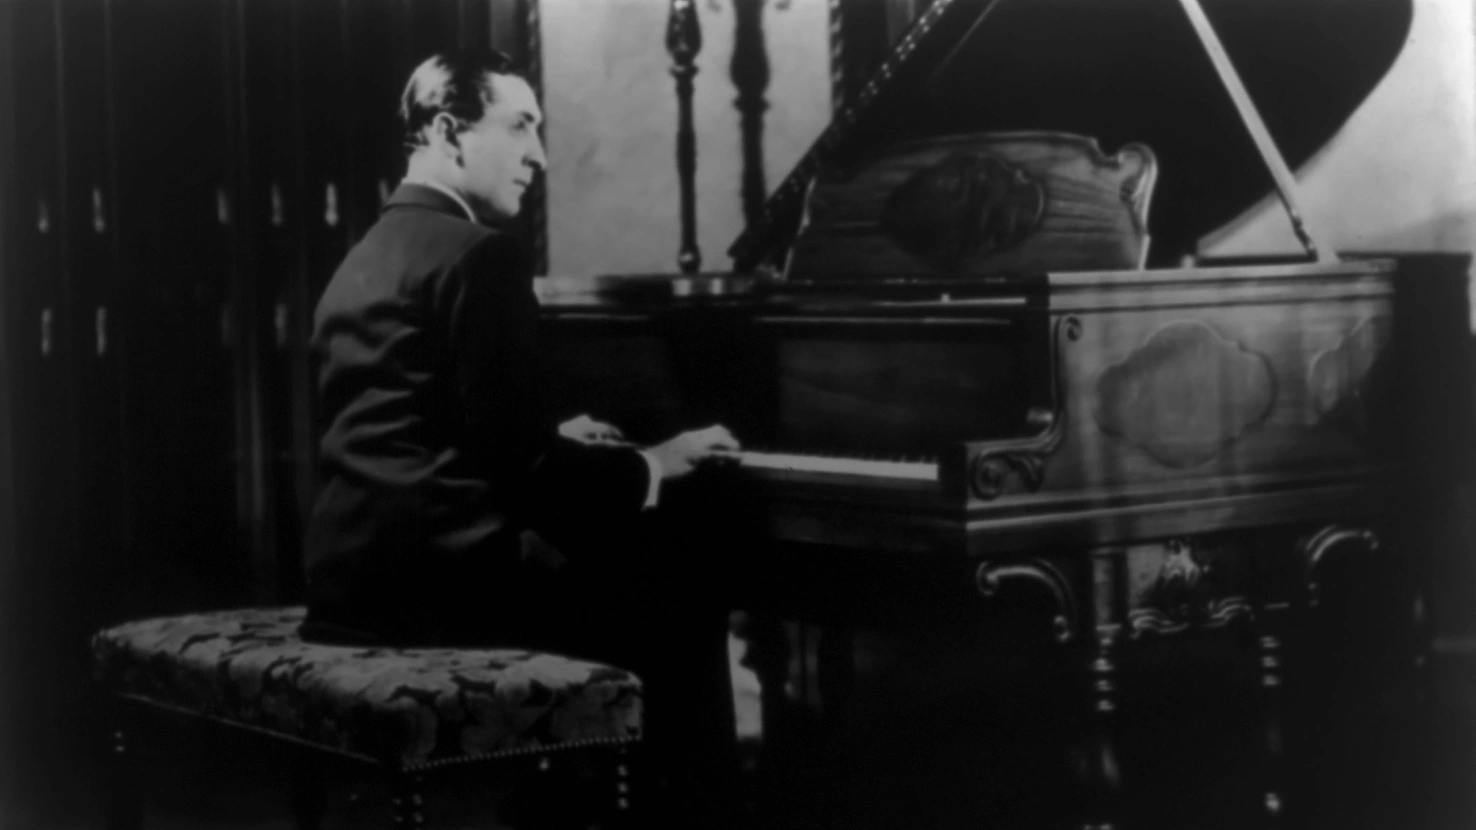
Take a look at this old taken slow-motion video of Vladimir Horowitz, and notice the remarkable articulation of every note. This creates a sort of "vacuum" between the notes that sound like a "super articulation."
When we listen to his recordings, we can hear very exquisite sound qualities which make use of a rich and interesting color palette. The better your fingers are developed, and the better one uses the arm, the more control there is for every sound of every note.
Too often, technique is reduced to mere bravura and finger speed. Yet to play a passage very fast isn't that hard, but to play every note on the piano with a unique quality of sound is difficult.
Step 1 — First Phase: umbrella effect
In the first phase, we work out the umbrella technique thoroughly. Let's look into that.
- Separated hands
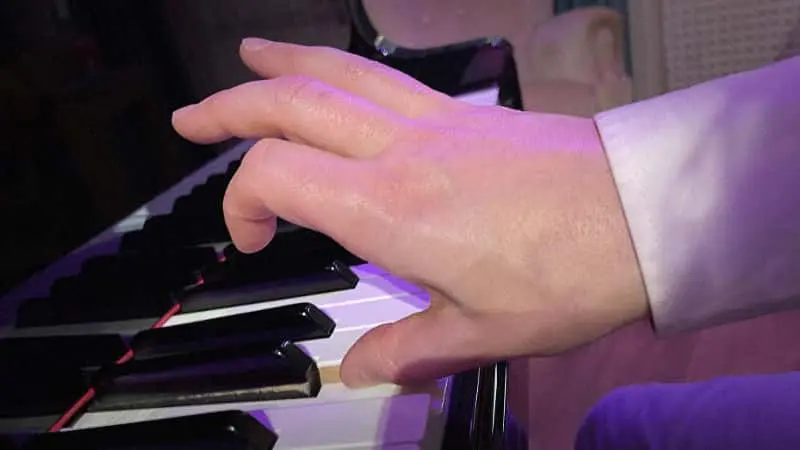
- The fingers are raised and round in a prepared state like an umbrella
- The fingers are concentrated, no spaghetti fingers
- When we strike each note, lightening fast
- When we hit a new finger the released finger goes up at lightning speed as well
- You may exaggerate the lifting so that you feel the stretch in the hand
- There is a release of tension in the hands in between each strike
- The wrists are in a low or straight position, certainly no high wrists
- The dynamics are firm, not forced (Mezzo Forte or Forte)
- The tempo from note to note is very slow
- We practice legato in this phase even if the end result must be non-legato except for finger pizzicato, a rare non-legato technique from the fingers
Demonstration Video Step 1
Umbrella Technique
Don't speed up just yet! The speed lies in the striking itself. In this manner, we work in a slow tempo on ever superfast fingers, more independent and stronger fingers.
Make sure to release some tension between each note so that the hands are not rigid.
Read more on fingering at this article: 5 Steps to Masterful Piano Fingering
Step 2 — Second Phase: arm movements
In the second phase, we do things differently. We are going to play together with our hands and use arm movements to enhance our piano playing.
At first, we work slowly, though a bit faster than in the first phase. We experiment and make choices about the best arm movements, and we practice them at a slow, very precise tempo.
Read also this article: The Vertical Arm Movement in Piano Technique: The First Step Towards Real Control
Checklist Step 2:
- Hands play together
- The fingers are raised and round in a prepared state like an umbrella
- We employ arm movements
- We can play with dynamics
- If the articulation must be non-legato, we use the arm movements necessary
- The tempo is gradually increased to a moderate tempo
- As the tempo, articulation, and dynamics change, the form of the hand becomes more crucial. This can mean that sometimes we play with more flat fingers
- We make sure that in between the divisions, there are always relaxations
It is very wise to work in divisions. Divisions in piano technique are note groupings that we can use strategically to enhance the flow of a passage. These divisions are not necessarily musical thought through, but purely mechanical. Often, each division has a slight adjustment in the form of the hand.
On divisions more soon in a more in-depth article.
In a later stage, we must think about musically necessary divisions. In between each division, we make a relaxation before going to the subsequent division. At first, we take time doing that, and later on, we learn to relax in between in a split second without interrupting the rhythm. Like this, we take new energy all the time, even in very fast passagework.
There was no more outstanding master in this than Arturo Benedetti Michelangeli. It is fascinating to see how he could relax between notes and chords in just a fraction of a split second.
Arturo Benedetti Michelangeli Concert in Lugano, 1981
Step 3 — Third Phase: speed and accuracy
In the third phase of practicing finger technique, we will employ everything we have learned in the first and second phases.
- The tempo is increased in steps to the final tempo and even faster than that
- We play the exercise or passage many times after another
- We make sure that we don't miss any notes
Note that the form of the hand becomes ever more critical to play all the notes correctly. The fingers should still be well articulated; however, the lifting of the fingers is done no more than needed to get the desired sound and articulation.
The control achieved in the previous phases is utilized to control each note's sound quality. Sometimes sostenuto playing is what we want; playing close to the keys. But well-controlled sostenuto playing starts with extensive practicing in the first phase, lifting the fingers very well.
In my online course Super Fingers, I teach you to step by step the system of piano finger technique and piano arm technique. Specially designed piano exercises accompanied by instruction videos for every step.
For a focused look at how forearm rotation applies to fast, even trills specifically, see where trill speed actually comes from.
I'm proud to offer you this unique online course for piano technique. No piano course or method is such a complete method in learning true piano technique!