An Arm Weight Exercise for Piano
Arm weight is easier to control and feel on two notes than in chords. So prepare two fingers, concentrated, and drop the arm into them, with the wrist free. Each time, feel where the weight goes, and adjust.
The question came from a student in one of my live lessons. First he asked about printing these Minutes, because he is used to turning pages rather than going to screens. I told him they're emails, not PDFs, and that they're also on my blog.
Then he asked for some arm weight exercises, something for a daily exercise and practice routine, and how to let that weight fall a little bit. And: Is it just a repetitious time?
My answer was: "No, you have to always feel." You feel what you do, and you adjust accordingly.
And the feeling can go far. In my course I put it like this: "Sometimes, when I'm really into playing pianissimo things, I really feel the vibration of the strings in my muscles. And this helps me to control and mold the sound the way I like it."
Two notes before chords is one of several orders in how I teach. Legato, for example, comes before the other ways of playing, because it's the basis, as I explain in my post on how to play legato on piano.
How to Use Arm Weight at the Piano
Start with a third played with fingers 2 and 4. First prepare the fingers. "So important is that you have the fingers concentrated so that they can support also the weight," as I told him.
Then the arm comes up a little, and you drop. The movement starts from the forearm, not from the shoulders: the upper arm moves passively, and the shoulders stay relaxed.
With my students I like to use Pinocchio: "imagine you are Pinocchio, and there is a little rope here, exactly here, where the muscles are from the fingers, and someone pulls this up." The rope is on the forearm, where the finger muscles are, and the wrist stays free.
And then, "without losing form, you drop." You don't have to go very high. You feel how the fingers push the weight through the keys, and that's what you check.
Concentrated Fingers
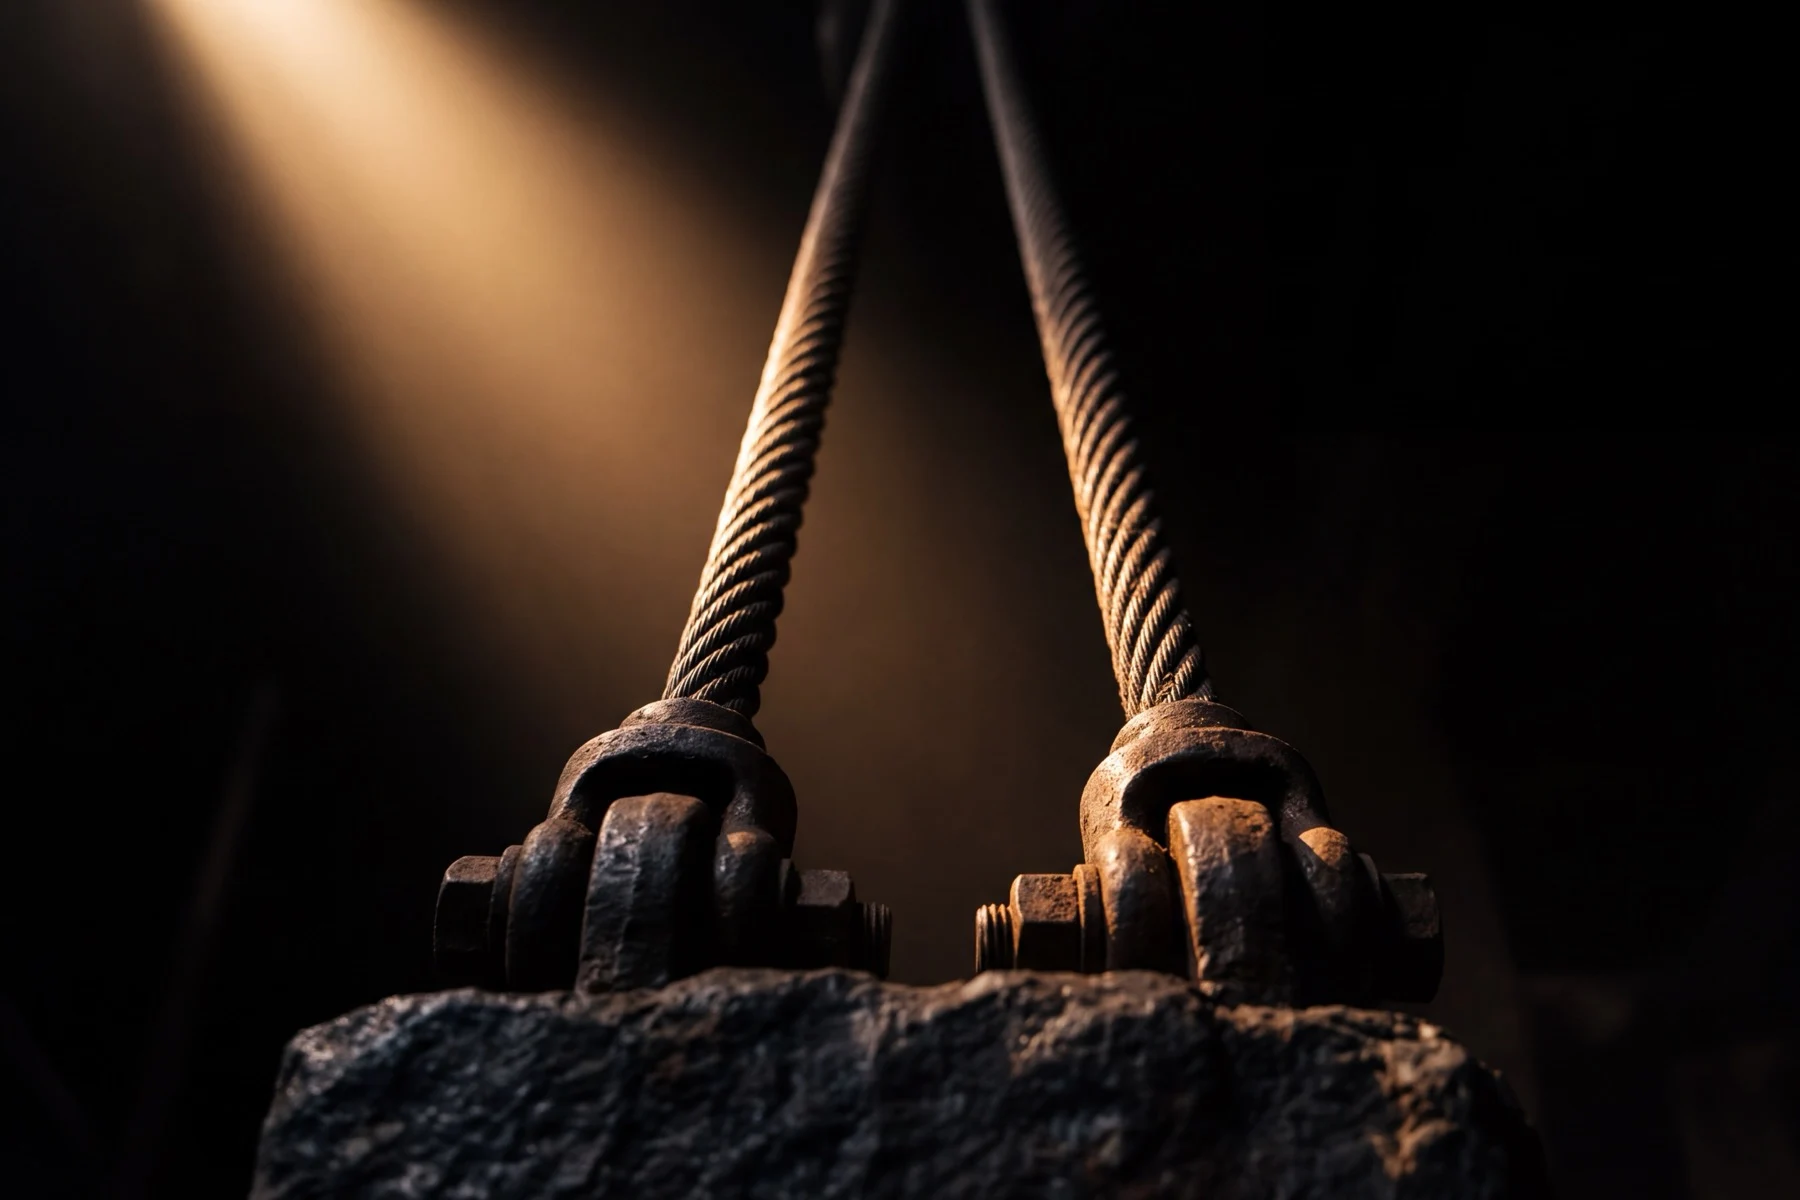
In the lesson I said it like this: "It's really almost like a bridge. Bridge that is like a hanging bridge that is anchored into the mountain. And then you go from one side of the mountain to the other. And it hangs there with the weight. And your fingers become that anchor."
For that, the fingers need resistance. "Concentrated fingers means fingers with resistance," like when you're holding something. And there are levels of it:
- High concentrated fingers: a lot of resistance.
- Medium concentrated fingers: a little bit less.
- Completely no resistance: spaghetti fingers.
"And we can't play with spaghetti fingers, it's not possible." So there's always some level of concentration in the fingers.
Keep the Wrist Free
Most students find one thing very difficult. They concentrate the fingers, and suddenly something in their mind tells them to lock the wrist with it. That is exactly what you shouldn't do.
What a locked wrist does, I show in the course: "when I locked the wrist, the energy, the activity, I must say, from the forearm, does not enter into the fingers because you block the current from here to the fingers."
And the opposite happens too. In one of my videos I said it like this: "Many students when they concentrate the fingers they make the wrist tight. I ask them to loosen the wrist. Suddenly the fingers become spaghetti." So you have to learn both together: concentrated fingers, and a free wrist.
For piano wrist technique, I come back to these lines from the course: "So the arm is flexible, the wrist is free and the fingers are concentrated. This is the basic of piano playing." Keep the wrist free, and you hear a full sound, from the arm through two fingers.
Try this
Right hand first, on your third.
- Prepare the two fingers, concentrated, before you drop.
- Drop the arm into the two notes, without losing form.
- Feel the weight hang on the two fingers.
- Listen: is the sound full? If not, check the fingers, then the wrist.
- Do the same with the left hand.
Check the fingers first: did they keep their concentration when the weight came, or did they give way? Then the wrist: did it lock together with them? Adjust that, play the third again, and listen again.
Arm Weight in Chords and Octaves
The third comes first. "And it's easier to do that with two notes than with chords. In chords, we do the same. And with octaves also." If you want your chords to sound fuller, start here: a chord asks the same of more fingers at once.
That is already more difficult for most students. With octaves, the stretch in the hand comes in too, and many students start to lock the wrist because of it. "So it's like the same," only with the hand stretched. How I work on octaves is in my post on how to play octaves on piano without tension.
Arm Weight and Arm Pressure
In your pieces, the arm often gives weight and pressure together. Here we just use weight.
Arm weight and arm pressure are both valid, and how much of each depends on the passage and the sound you want. This exercise keeps only the weight, so you can feel where it goes on its own.
How the arm's weight, through concentrated fingers, becomes tone in real pieces is in my post on arm weight and finger coordination in tone production.
The way I teach the arm, I learned from my teacher, Avi Schönfeld, who was on his turn a student of Rubinstein. So it's not something I invented myself.
If you want to see the arm used this way, there are video recordings of Emil Gilels: "He used the arm exactly the way I'm teaching it."
In short
Do it daily, each hand, without much height: a third, two concentrated fingers holding the arm's weight, and a wrist that stays free while they hold it. Your ear decides each time if the sound is full.
Where It Shows Up
On spaghetti fingers the weight sinks into the hand, and the sound turns weak. In Super Fingers I use the same picture of the arm hanging on the fingers.
There the fingers come first, in Module 1, "because without that, it's very difficult to work on arm movements if you have still no clue of how the fingers work." The arm movements come in Module 2.
Which hand sounds weaker? Let me hear it in live coaching.