Today we're going to discuss different ways of working on Hanon's finger exercises. There are teachers who dismiss these exercises nowadays, and I think it's a little bit wrong to dismiss them. They are very good, really good for finger dexterity, and depending on the way you work at them, they can be quite effective.
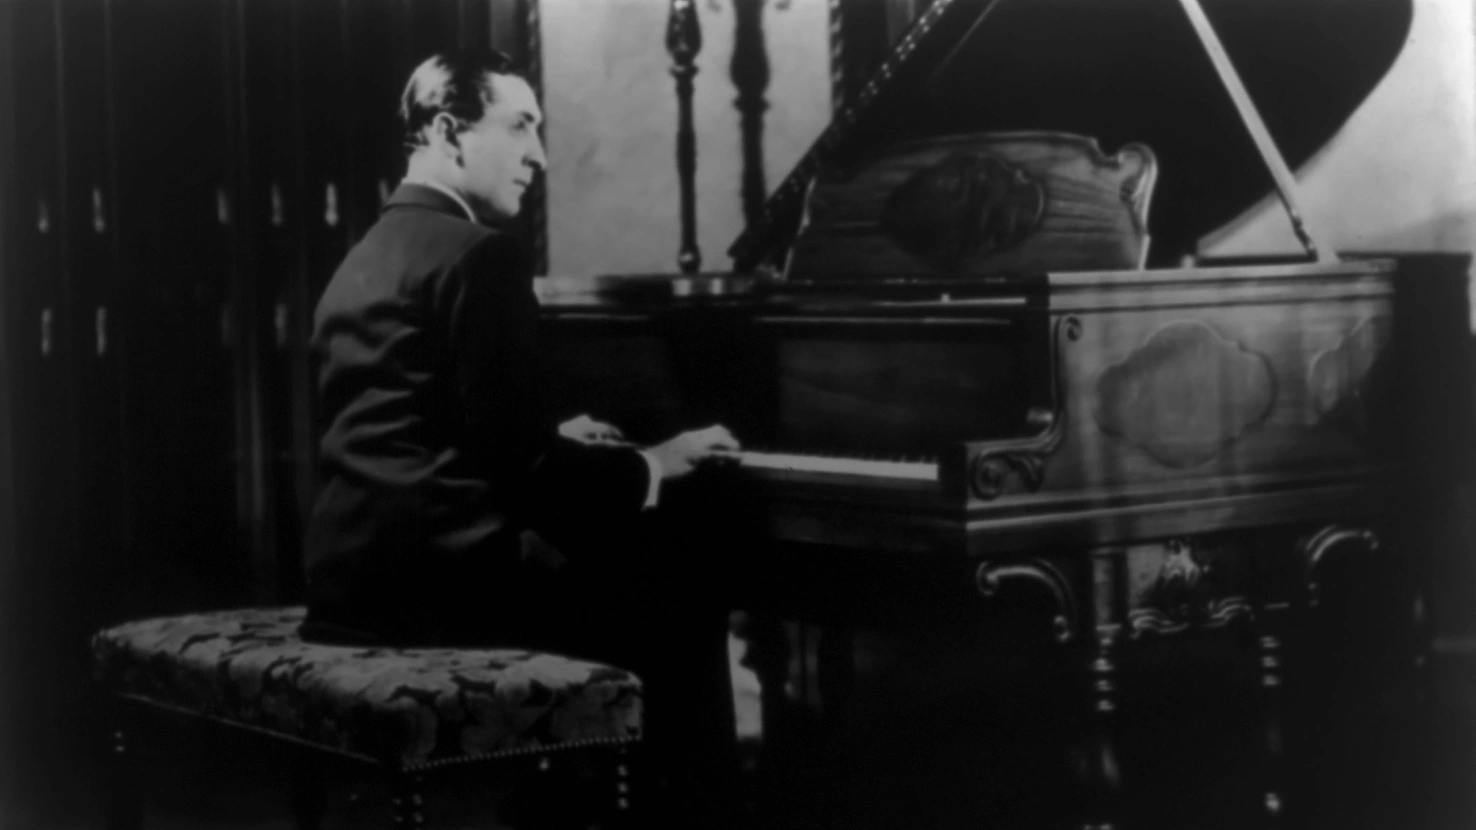
Rachmaninov told that in the first two years of his study, all the students in the conservatory had to learn all the Hanon exercises in all the scales.
Nine ways: 1) As written, slowly, raised fingers, with arm movement. 2) Different tonalities — transpose into every key. 3) With sustained notes — one finger sustained creates an anchor point. 4) Using chords as a grid. 5) In octaves. 6) In thirds. 7) In sixths. 8) Different rhythms that activate the fingers more than usual. 9) Different articulations — legato, staccato, portato, accents, pizzicato.
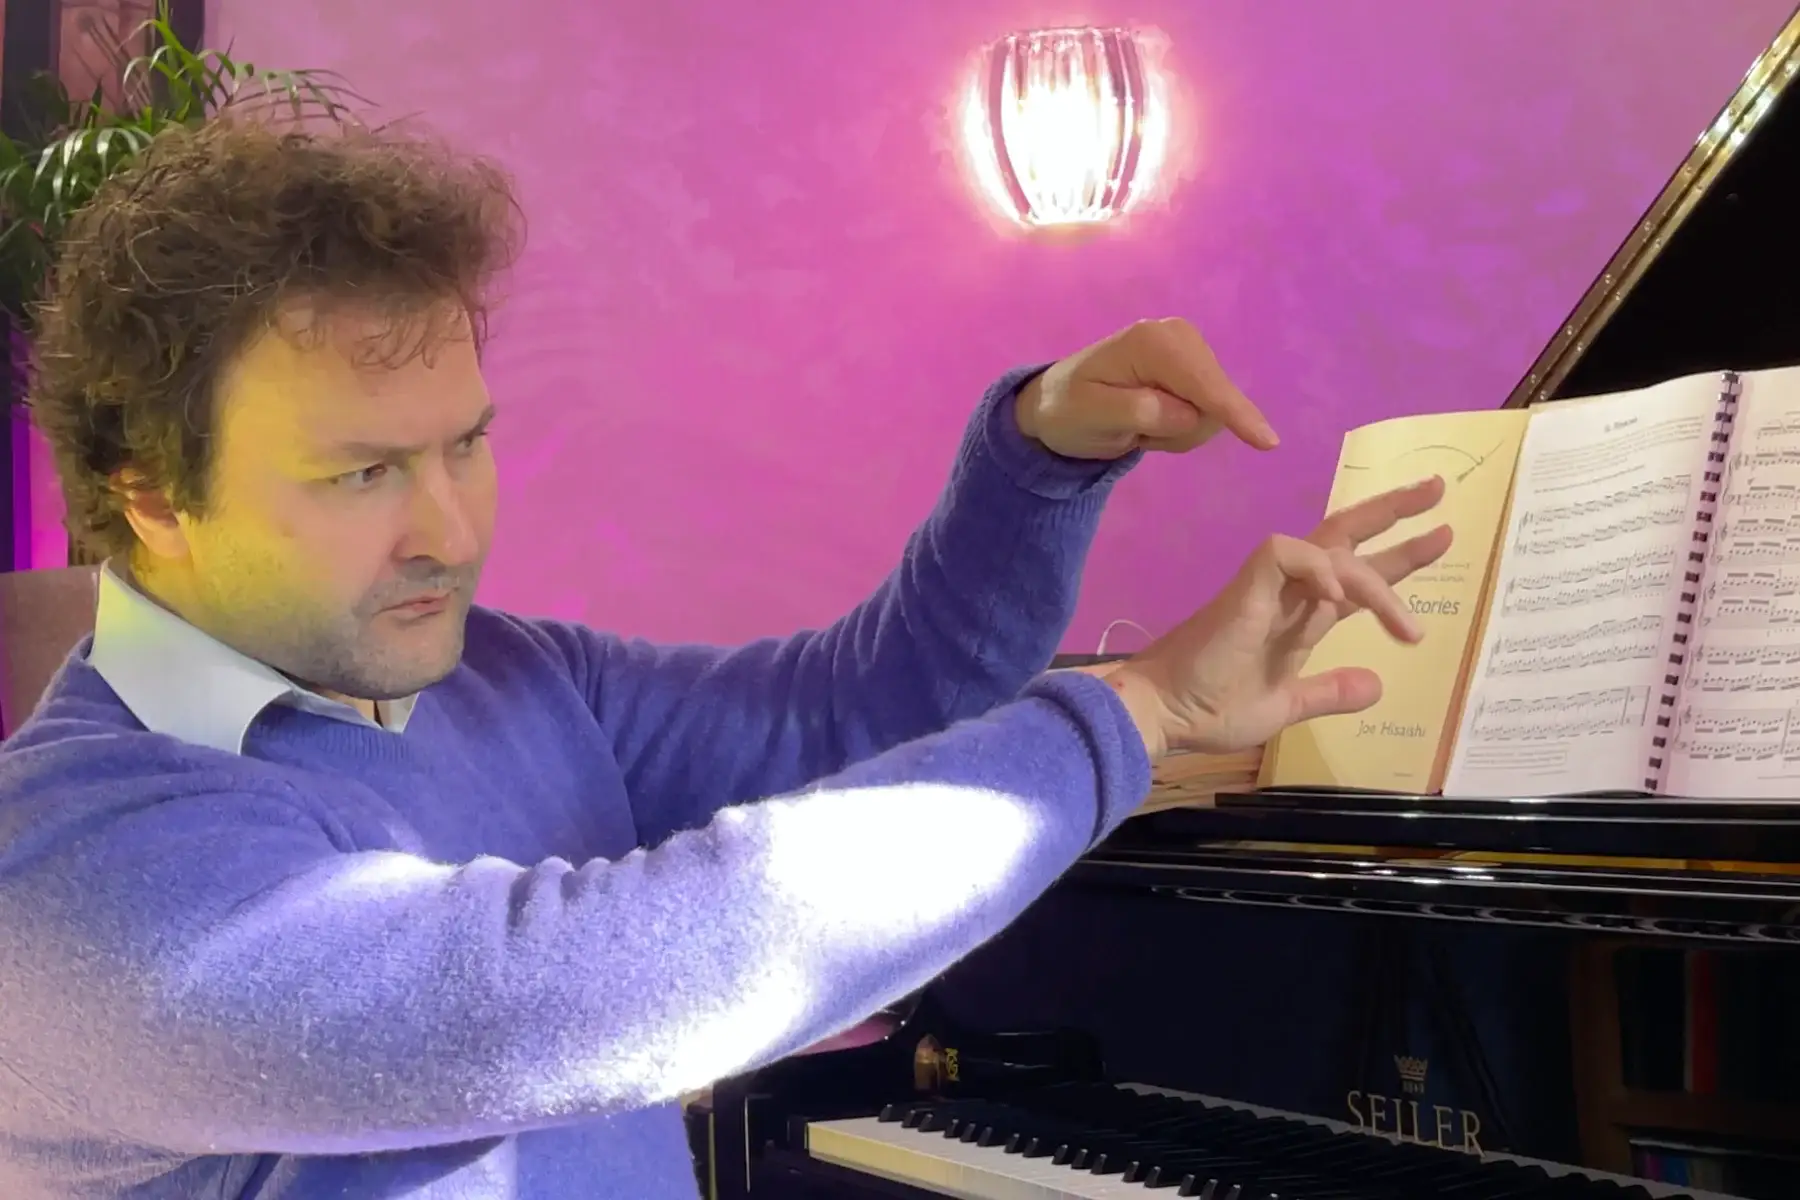
Remember always: supple wrist, concentrated fingers, feel the muscles in your lower arm. Never spaghetti fingers, never a stiff wrist. The moment you feel tired is usually from tightening the wrist, not from lifting the fingers.
Hanon is either a ladder or a treadmill. The difference is entirely in how you practise it.
Played mindlessly — the same patterns, the same keys, the same speed, every day — it becomes a habit with no technique attached to it. Practised with intent, varied systematically, it is one of the most efficient tools for building real finger independence, equality, and strength.
Here are nine ways to get real value from these exercises.
1 — As Written: Slow, Raised Fingers, Arm Movement
The foundation. Before any variation, master the original. Play slowly, hands separately. Raise the fingers actively between each note — you should feel the muscles in your lower arm working. Those muscles are the motor of the fingers. Then add a gentle wave-like arm movement to help the fingers. Hands together, still slowly, still feeling every movement.
This is how Rachmaninov's teachers approached it in the conservatory. All students learned all the Hanon exercises in all keys. The first two years were about establishing the physical fundamentals. Don't rush past this stage.
2 — Different Tonalities
Playing in C major is safe. Playing in D-flat major requires you to think, adapt, and map your fingers to a different set of keys. That adaptation — the slight recalibration of hand position for each new key — is itself a form of technique. It trains the hand to be flexible rather than locked into one shape.
Start by learning the scales so you know which sharps and flats each key contains. Then take any Hanon exercise — number four works well — and transpose it into a new key. In the beginning, this takes concentration. Over time, the keys become automated. That automation is the point.
3 — Sustained Notes
This is one of the most effective variations. While playing an exercise, keep one finger sustained on its note rather than releasing it immediately. The sustained finger becomes an anchor point. The other fingers must move independently around it.
Start with the thumb sustained. Then try the fifth finger. Then the second, the third, the fourth — each one more challenging than the last. You'll immediately feel which fingers have genuine independence and which are cheating by relying on neighboring fingers.
Prepared fingers are the foundation of this kind of control. The sustained note forces you to find that foundation. Always keep the wrist free and supple — when students try this and feel tired, it is almost always from tightening the wrist, not from the finger work.
4 — Chords as a Grid
Take the C major scale as a grid. For each position in the exercise, play a chord built on that scale degree instead of a single note. You can also use seventh-chord grids, or diminished chord grids.
The practical effect: your hand learns to stretch across the chord shape while the fingers execute the exercise pattern. It develops reach in a natural, musical way — without the risk of forced stretching, which can cause injury. The chord grid also keeps your brain engaged when the standard exercises have become too automatic.
5 — In Octaves
This moves from individual finger independence to octave technique. Play the exercises with the thumb and fifth finger on the outer notes, the inner fingers passive.
The white keys are straightforward. The real work happens on the black keys — try it in B major with five sharps. The hand must adjust constantly. You can also use double notes to make your fingers looser and more flexible; the stretch required in certain double-note configurations is one of the best natural loosening exercises available. Exercises for weak fingers develop the same muscle groups from a different angle.
6 — In Thirds
Two notes at a time, a third apart. Find the fingering that works, and experiment with different fingering options even when one is awkward — difficult fingerings in practice prepare the hand for awkward situations in real music.
Playing in thirds also trains you to balance the weight between two fingers simultaneously, which directly transfers to voicing work in pieces.
7 — In Sixths
More stretch, different balance requirement. The upper voice needs to sing — you're practising legato control in the upper finger while the lower finger supports the interval.
Different fingerings here too. The stretch and the balance required make this one of the harder variations, but the gains are significant. The system behind fast fingers covers why this kind of multi-voice coordination matters.
8 — Different Rhythms
Certain rhythms turn passive repetition into active training. The pattern that works best is one that forces an accent on a specific beat — short-long, long-short — so one finger must strike the key with a fast, decisive attack while the others prepare.
That fast attack is the essence of finger speed. You're not just practising the exercise; you're practising the exact movement — the quick preparation and decisive strike — that makes fast passages clean. You can vary which finger gets the accent: one exercise can become nine exercises just by cycling through which finger leads the rhythm.
9 — Different Articulations
Legato is the standard. But staccato, portato, and pizzicato all demand something different from the hand and train different aspects of control.
Staccato can come from the fingers or from the arm. Finger staccato — achieved by exaggerating the articulation — trains fast finger release. Arm staccato (portato) trains coordination of the larger movement. Pizzicato with the thumb sustained and the other fingers playing detached is particularly effective for developing independence in the weaker fourth and fifth fingers.
You can also combine articulations: sustain the first note of each group, play the rest pizzicato. The variations are genuinely endless — and that's the point. These nine approaches turn a fixed set of exercises into a system that never runs out of material to work on. Czerny etudes for piano are the natural next step when these variations start to feel familiar.
Hanon exercises are not boring or dangerous or outdated. They are exactly as effective as the attention you bring to them. Use any one of these nine approaches with real concentration — supple wrist, concentrated fingers, feeling the muscles in your lower arm — and you will find material to work on for years.