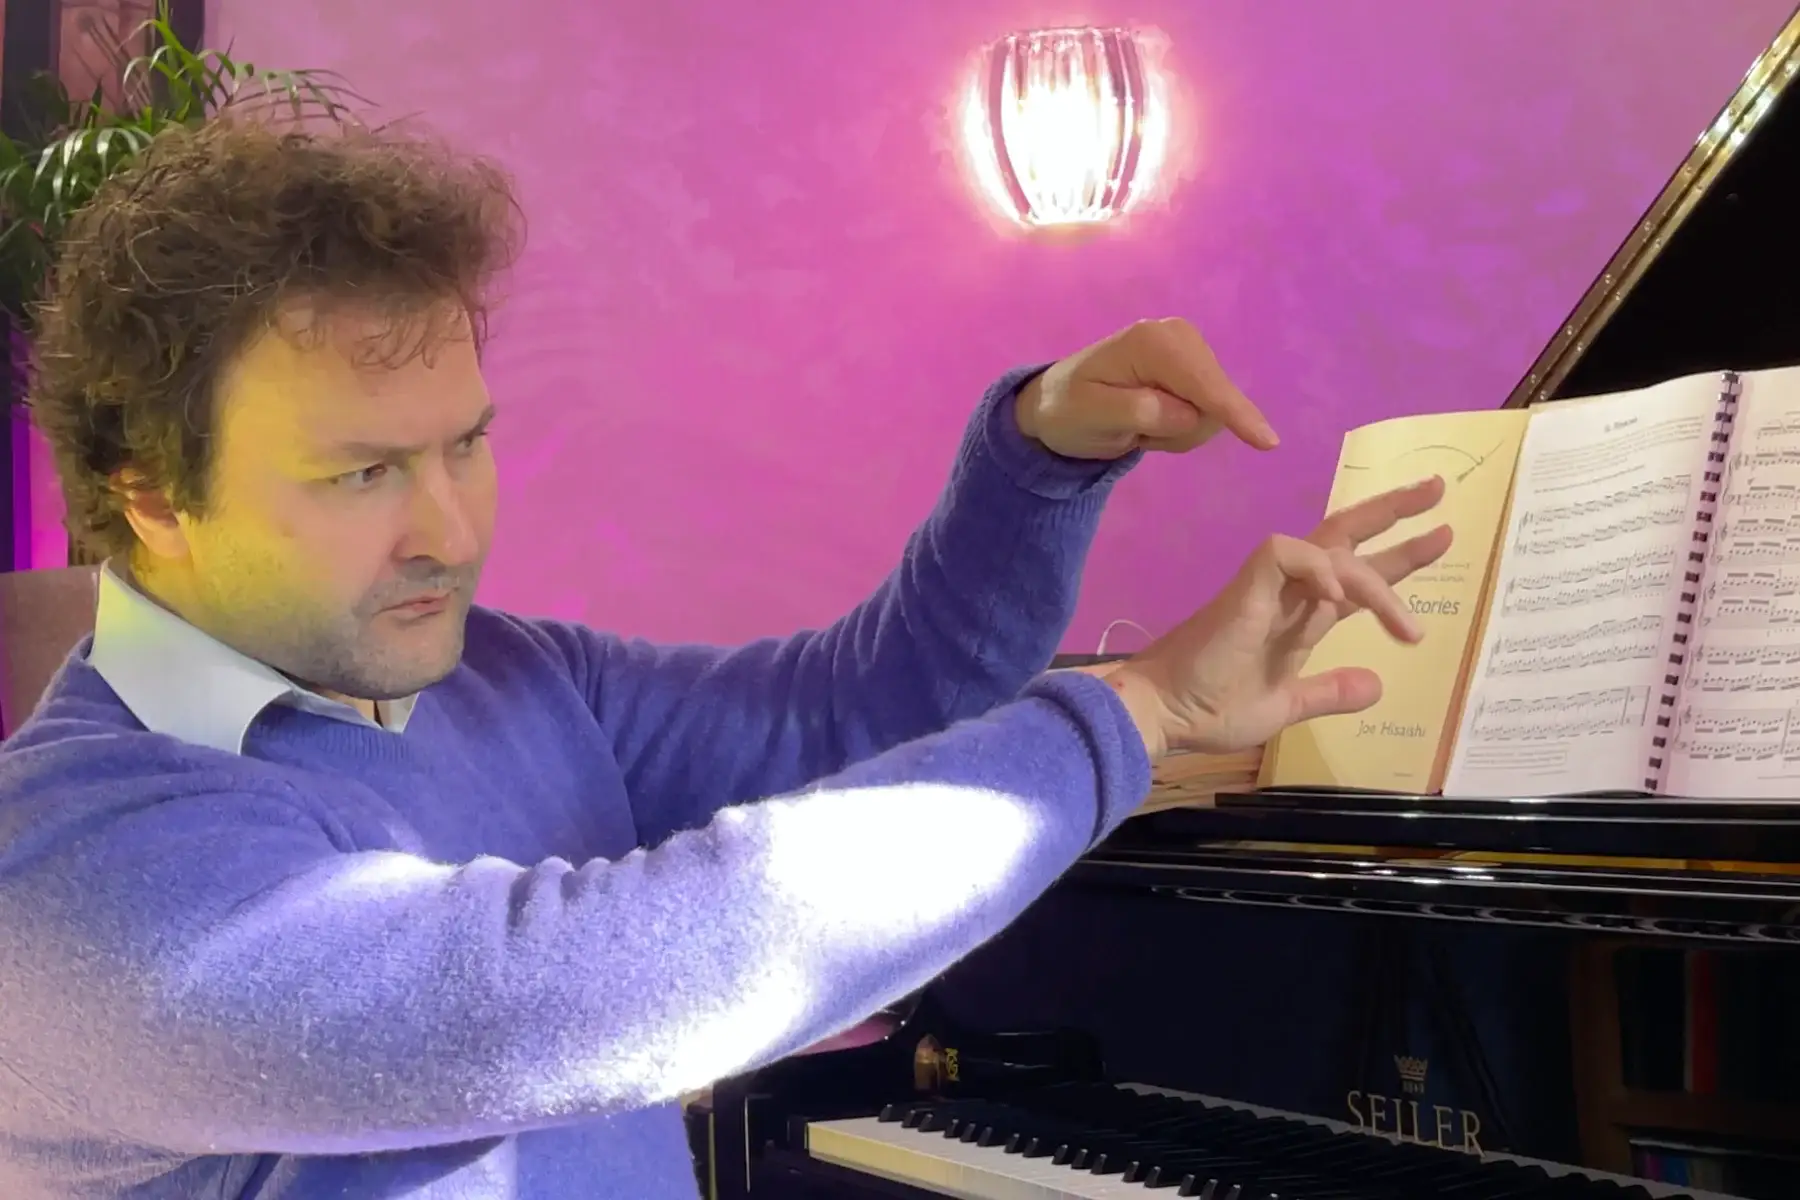
In the right hand, going up is more difficult than going down. In the left hand, going up is easier and going down is more difficult. This has to do with the passing of the thumb — passing beneath is a little bit more difficult than going over.
When going fast with scales, the hand goes a little bit to the outside, the thumb goes underneath, but we don't turn the hand anymore. The hand stays in one position. When going more up, the right hand goes more outward — little micro-adjustments. Black keys also need little micro-adjustments. A good way to practise with black keys is to make exercises to mold the hand around the black key.
I raise my fingers. When I want passages to be clear, I will raise my fingers, I will articulate. My finger prepares for the next one — opens like an umbrella. This is a very good way to create good articulation.
When I practise, I can practise slow. Open the hand and then fast attack of the key. Speed is more important than power here. Between each note is a little relaxation in the muscles. Isolate each finger like that. Without power, but speed. Supple wrist. The wrist is always free and supple. You should feel it in the lower arm.
Two ways I practise scales myself: the first — real fingers, active fingers, no arm yet. And a little bit faster.
The second way: light, from octave to octave. To speed up, try to keep left and right synchronized.
When the scales go down, hand to the outside. And the arm in a more up-position. Like a bow — almost like when you're playing the cello.
Scale practice done mechanically produces nothing — just a habit of running up and down with no technique attached to it. Done with attention to these five points, it produces direction, evenness, thumb freedom, and controllable speed. The difference is entirely in how you practise.
1 — Understand Why One Direction Is Harder
In the right hand, going up is harder than going down. In the left hand, going up is easier and going down is harder. This asymmetry is not random — it comes from the mechanics of the thumb.
In both directions the hand passes over the thumb. What changes is whether the thumb is already on its key. Going down with the right hand, you pass over — like a waterfall, rolling naturally. Going up, the thumb has to get there first, which is the harder motion. The left hand mirrors this.
Knowing which direction is harder for which hand tells you where to focus. Practise the harder direction more. Do not just run scales from bottom to top and back — track which direction your weaker hand struggles with, and work that direction in isolation until it matches the easier one.
2 — Keep the Hand Position Stable — No Rotation
When playing scales fast, the hand does not rotate to accommodate the thumb crossing. It stays in one position and makes micro-adjustments in shape and angle instead.
As the right hand ascends, the hand orients slightly to the outside. The hand passes over the thumb without the whole hand turning. When the scale descends, the hand orients to the outside again. These are small adjustments — in the shape of the hand, in the angle of the wrist relative to the keys — not big movements.
Black keys require their own micro-adjustments. A good exercise for this: practise molding the hand around each black key in the scale. Feel the hand position change slightly as the thumb passes near the black keys, then releases. This accommodation is what makes scales on the black keys feel as natural as scales on white keys.
Moving the thumb like a snake gives the detailed treatment of how the thumb moves in a smooth scale, and why the snake metaphor captures the correct motion.
3 — Raise the Fingers; Articulate
When you want a passage to be clear, raise the fingers. Articulate. The finger prepares for the next note — opens like an umbrella — and then strikes with speed.
This is the same umbrella principle that applies to exercises, to Hanon, to difficult passages in pieces. For scales specifically: speed comes from the quickness of the strike, not from the tempo. Practise slowly with fast attacks — open the hand, prepare each finger, fast strike, relaxation between notes, next finger prepares. Feel it in the lower arm.
The wrist must stay free and supple throughout. Scales where the wrist tightens produce uneven notes, no matter how correctly the fingers move. The wrist freedom is not the result of good scales — it is the prerequisite. Scales need direction, not just fingering addresses what happens when even technically correct scale work still sounds mechanical.
4 — Two Specific Ways to Practise for Speed
Once the basic mechanics are in place, two practice methods build speed systematically:
Method A — Active fingers, no arm. Real finger articulation, raised, active. No arm movement yet — this phase is purely about the fingers. Work up to a good tempo, but never at the cost of the raised, articulate fingers. This is the first phase. It develops the finger speed and independence that fast scales require.
Method B — Light, from octave to octave. Play lightly, with less physical engagement from the fingers, and synchronize the two hands as the tempo increases. This method builds coordination and trains the scale as a two-hand unit. Keep the left and right hands synchronized — any drift in synchronization becomes obvious at higher tempos, and this method makes the drift visible so it can be corrected.
When going down, the hand moves to the outside and the arm rises slightly — as if drawing a bow, like a cellist. This arm-up position on descending scales is not decorative; it is what keeps the arm free and the scale even in the downward direction.
5 — Common Scale Practice Mistakes
Playing only fast. Fast practice reinforces what the hand already knows — it does not build new capability. Slow practice with fast attacks builds what the hand does not yet know. Mix the methods: slow with active fingers, then light and fast with synchronization focus.
Starting over from the beginning every time a mistake occurs. This over-practises the first few notes and under-practises everything that follows. Work on the sections that fall apart — not the sections that already work. Why arpeggios still sound uneven describes the same problem in a related technique.
Ignoring black keys. If you only practise scales in C major, you train one hand position. If you practise in all keys, you train adaptability. For the hand, the scales that ask for the most adaptation are the ones with only one or two black keys — G, F, D, B♭. A single black key sits isolated in the middle of the finger sequence, so the hand steps in and out for it and never settles at one depth. Keys with a full group of black keys let the hand stay where it is, which is why Chopin started his students' scale work in B major. Why black keys still get missed addresses the specific mechanics involved.
Letting the thumb accent. The thumb is naturally the strongest finger, and it tends to give an accent where the hand passes over it. Work specifically to reduce the thumb's volume until it matches the other fingers. Use a metronome and listen for the regular bump that appears every time the thumb crosses.
Disconnecting the hands. When hands practice is fine but hands-together practice breaks down, the usual cause is that the two hands have been programmed at different micro-speeds or with slightly different fingering shapes. Practise the transition points — the thumb-crossing moments — hands together, very slowly, until they unify.
Where to Go Next
Scales are preparation for repertoire. The techniques built here — thumb freedom, hand-position stability, articulation and speed control — apply directly in Czerny etudes, which are the most focused application of scale technique in a musical context. Czerny's scale etudes organize this progression from easy to virtuoso level, with specific opus numbers for each stage.
And using the metronome for scales gives the tempo-discipline framework that turns the two speed methods above into a systematic progression — not just practising faster, but building speed with a documented baseline and clear benchmarks.